
Just Spoiled for the next Magic set are my first 2 oil-painted cards.
There is always a bit of trepidation and lack of knowledge of end-results when doing something the first time. This being my first Magic card oil, I had to guess what size of painting would work to have enough space to render the faces properly and have the right scale for the image and its reduction to tiny card-size. I went with a fairly large 18X24" format as I thought the subject lended itself to a large, aesthetic painting good for wall decoration and future appreciation outside of the game application. Not too happy they cropped it in closer, but I guess that underscores why its nice to have originals.

A year ago when I did this I was struggling with getting a good surface, free of priming brushstroke-marks and smooth with some tooth. I experimented by gessoing my panel and dabbing with a sponge to create a slight stipple and then sanding on top. I achieved a fine texture that worked well, but have since found pre-primed boards that are the same thing but even better. (and no work!)

After printing out the drawing I rub charcoal to the back and trace over the lines.
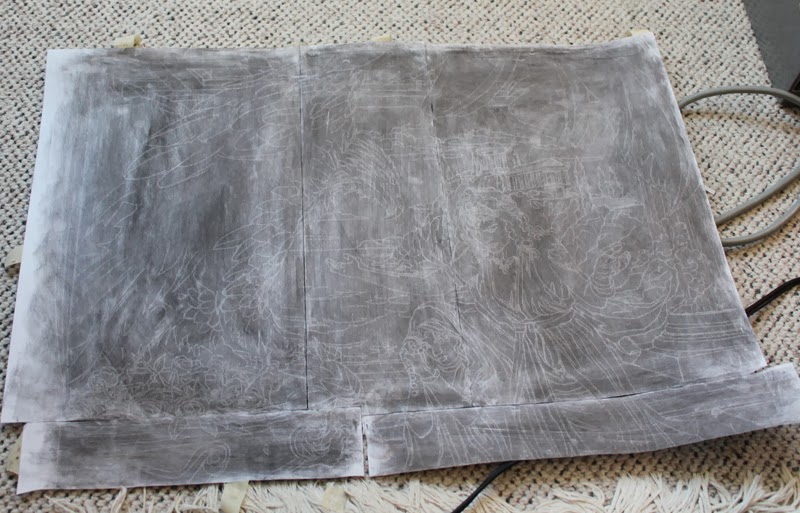
The transfer to the board is a bit ugly as the lines migrate and lose their smoothness. I prefer this extra step to my early process of mounting paper to the panel with clear gesso, as its more archival and won't warp the panel.

I mix a few tints of raw umber acrylic and go over the transferred lines to get a drawing on the board that will be strong and visible as I paint.


Acrylic washes tint the linework and put the whole painting in the right contexts so that I can paint one object at a time, visualizing the final effect from the start.

Painting from back to front, rendering each area at a time...


The final painting is completed and properly photographed...

The second one depicts a Satyr Troublemaker gleefully setting a Trojan horse ablaze...

As usual, I rub charcoal to the back of the drawing and trace down onto a panel. This panel I gessoed myself again, keeping it smooth and slick as I intentionally wanted the paint so go on a bit uneven to get some "free" texture to the application for the rough wood areas.
Going over the lines so that I can see them through the underpainting... This time using a warmer burnt umber.

Establishing the contexts in acrylic washes allows me to paint quickly, completing one area at a time.

Rendering background to foreground, right to left...

More rendering...

and more...

The final painting..

It seemed like the first painting I posted (Aerie Worshippers), the collectors were keen to see the object finished rather than cropped close. Here is a shot in the frame. In fact my final photo didn't look nearly as good as it does in person. I'm still trying to figure out the best-practices for photographing art, and images that have alot of darks and red tones are particularly problematic. Its very difficult to do these in oils and learn at the same time, as I essentially have to accept a lower standard of quality for the print image due to all these factors. Going back to digital art is very compellling...

16x20" oil on panel
No comments:
Post a Comment